Google Tag Manager (GTM) simplifies tracking and marketing for Shopify stores by centralizing tag management. Here’s a quick guide to get started:
-
Why Use GTM with Shopify?
GTM helps track customer behavior, improves site speed, and simplifies marketing setups (e.g., Google Analytics, social media pixels, and conversion tracking). -
What You Need:
- A GTM account with a container ID.
- Access to your Shopify theme files via the admin panel.
-
Steps to Integrate:
- Add GTM’s
<head>and<noscript>code snippets totheme.liquid. - Verify installation using Google Tag Assistant or GTM Preview Mode.
- Set up key tags like Google Analytics 4 and custom events (e.g., add-to-cart, purchases).
- Add GTM’s
-
Testing & Publishing:
Use GTM’s Preview Mode to test tags and triggers, then publish changes once verified.
This integration improves tracking accuracy and marketing efficiency for Shopify store owners. Follow the detailed steps below to set up GTM on your store.
How to Install Google Tag Manager on Shopify
Prerequisites: What You Need Before You Start
Before you begin the integration process, make sure you have everything you need.
1. Create a Google Tag Manager Account
Head over to tagmanager.google.com, log in using your Google account, and set up a new container. Use your business name for the account, name the container after your Shopify store, choose "Web" as the platform, and set your store’s primary market region. Keep the GTM container ID (e.g., GTM-XXXXXXX) handy for later steps.
2. Access Your Shopify Admin Panel
Log into your Shopify admin panel and go to Online Store > Themes. Find your active theme, click Actions > Edit code, and ensure you have admin privileges for both your GTM account and Shopify store. You’ll also need permission to make changes to theme files.
Before making any edits, back up your current theme to avoid any accidental issues.
Once you’ve completed these steps, you’re ready to add the GTM container code to your Shopify store.
Adding the GTM Container Code to Shopify
With your GTM account ready and access to your Shopify admin panel, it’s time to integrate the GTM code into your store’s theme.
1. Locate the GTM Container Code
Head to the ‘Install Google Tag Manager’ section in your GTM Admin to grab the required code snippets:
- Main GTM script: Goes in the
<head>section of your theme. - Noscript fallback: Belongs in the
<body>section to ensure tracking works even if JavaScript is disabled.
2. Insert GTM Code into Your Shopify Theme
Open the theme editor and find the theme.liquid file in the Layout section. Add the GTM snippets as follows:
- Main GTM script: Place this in the
<head>section, right after the<meta>tags. This ensures GTM loads early when the page is accessed. - Noscript fallback: Add this snippet directly after the opening
<body>tag to maintain tracking for users with JavaScript disabled.
"This is simply getting the basic GTM code running on your site." [1]
Note: If you’re using a Page Builder App that generates new liquid files, make sure to include the GTM container code in those files too. This ensures tracking works across all pages.
3. Save and Publish Your Changes
After adding the code, save your edits and publish the updated theme. Shopify Plus merchants should also repeat this process in the checkout.liquid file to enable tracking during the checkout process.
Once the GTM code is in place, your Shopify store is ready to start collecting data. The next step? Verifying the installation to confirm everything is set up correctly.
Checking GTM Installation
Verifying your Google Tag Manager (GTM) setup ensures that your Shopify store collects accurate data, helping you make informed decisions and improve marketing efforts.
1. Use Google Tag Assistant for Verification
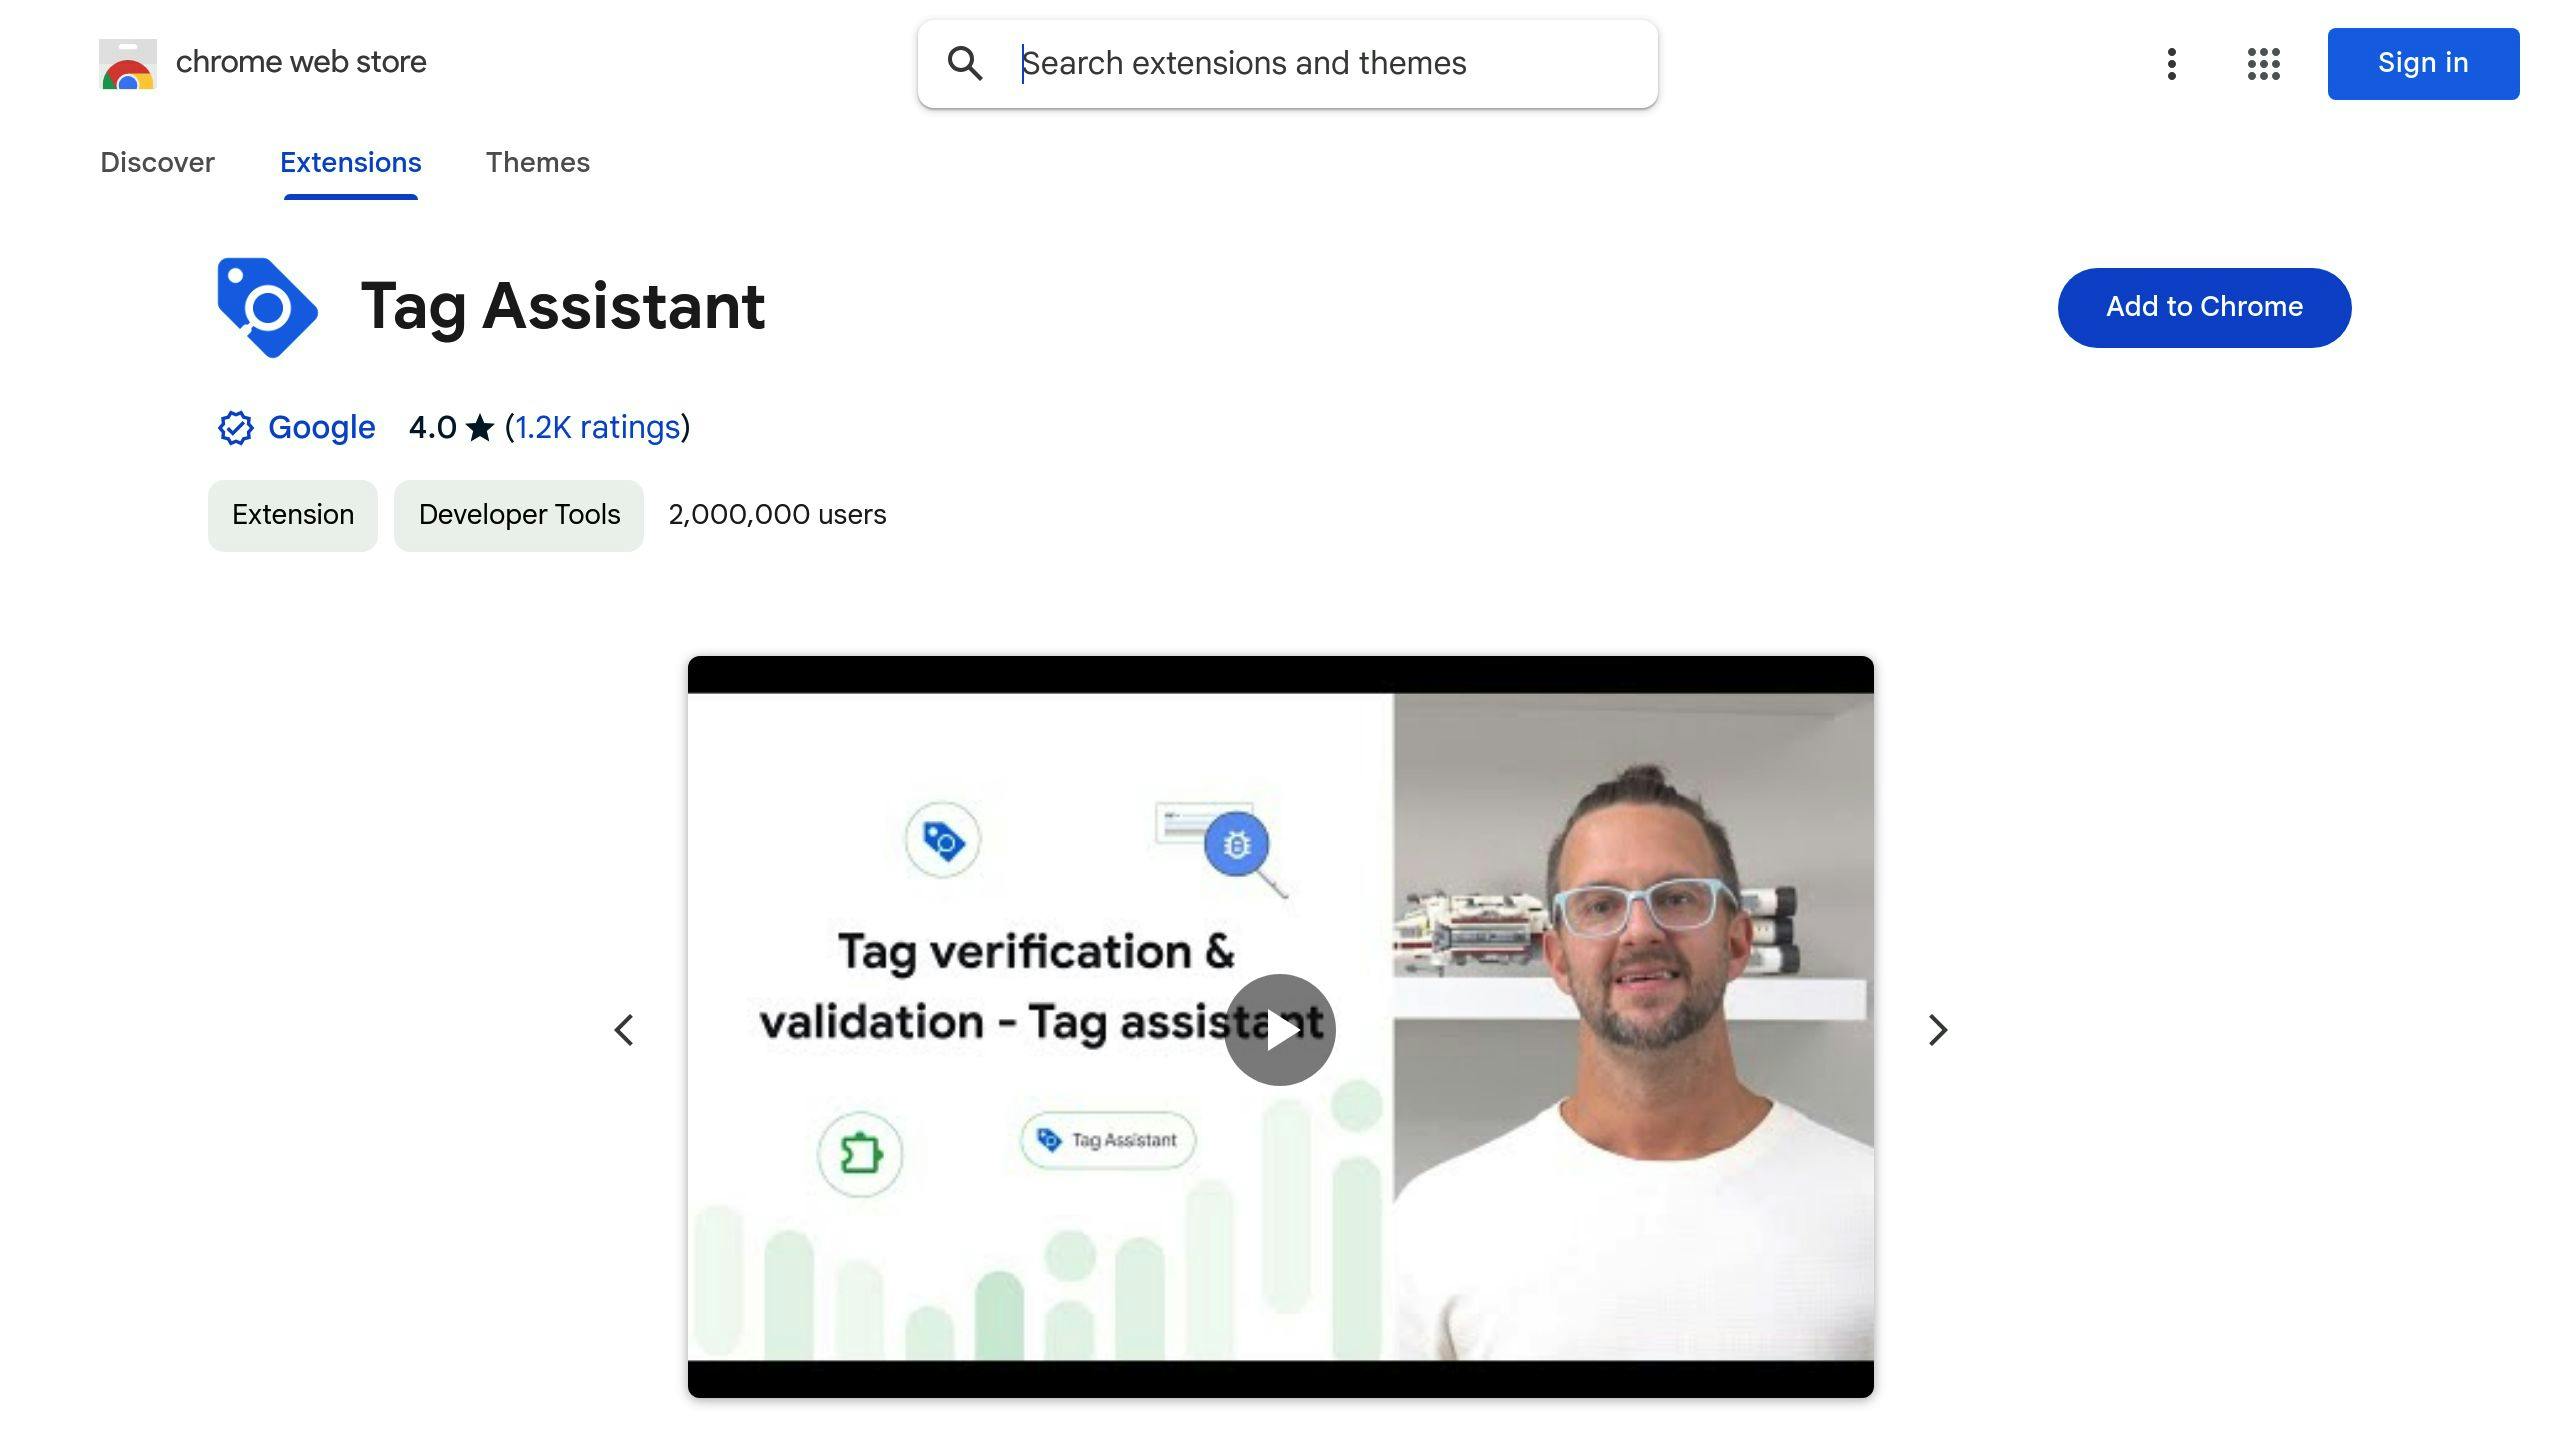
Google Tag Assistant is a free Chrome extension that provides instant feedback on your GTM setup. Here’s how to use it:
- Install the Tag Assistant Chrome extension.
- Open your Shopify store and navigate to any page.
- Click the Tag Assistant icon, connect, and input your store’s URL.
"Use the Tag Assistant Chrome extension, which checks for Google pixels on the page (e.g. Google Analytics, Google Ads, Google Tag Manager) and provides real-time feedback." [3]
2. Use GTM Preview and Debug Mode
GTM’s Preview mode gives a live view of how your tags are performing:
- Log in to your GTM account and click Preview in the Workspace.
- Enter your Shopify store URL and click Connect.
- Test key events like page views, product clicks, and cart interactions.
Important: Preview mode does not work on Shopify checkout pages due to security restrictions.
3. Troubleshoot Installation Problems
If something isn’t working as expected, here are common issues and fixes:
| Problem | Solution |
|---|---|
| Tags not firing | Check if GTM code is added to theme.liquid. |
| Preview mode not working | Ensure browser settings or extensions aren’t blocking GTM. |
| Missing events | Look for script conflicts or errors. |
| Inconsistent tracking | Confirm the GTM container is published. |
For persistent issues:
- Double-check your GTM container ID for accuracy.
- Clear your browser cache and cookies.
- Disable any privacy-focused browser extensions.
"If the Connected pop-up message appears on your screen, then you have installed Google Tag Manager correctly." [1]
Once GTM is properly installed and verified, you can start setting up the essential tags to track your Shopify store’s activity effectively.
sbb-itb-6768865
Setting Up Basic Tags in GTM for Shopify
Once GTM is installed and verified on your Shopify store, the next step is setting up tags to track important events and customer interactions. These tags and triggers will help you understand user behavior and improve your store’s performance.
1. Configure a Google Analytics 4 Tag
Start by creating a GA4 tag in GTM. Choose the ‘GA4 Configuration’ option, input your Measurement ID, and assign the trigger to ‘All Pages.’ To improve tracking, include key Data Layer variables such as page location, referrer, and title.
"GA4’s Enhanced Measurement automatically tracks key events like page views and link clicks, simplifying data collection." [1]
2. Add Custom Event Tags for eCommerce Tracking
Use custom event tags to capture specific Shopify actions. Push details like product name, price, and ID to the Data Layer for better tracking of critical events.
Key eCommerce events to track:
| Event Name | What It Tracks |
|---|---|
| view_item | Product page views |
| add_to_cart | Items added to the cart |
| purchase | Completed transactions |
3. Create Triggers for Shopify Events
Set up triggers that fire your tags at the right moments:
- Page View Trigger: Tracks general navigation across your site.
- Product Interaction Trigger: Captures product views and cart actions.
- Purchase Completion Trigger: Focuses on recording successful transactions.
"Shopify’s checkout extensibility (a.k.a. Sandboxed setup) severely limits what things can be measured with tracking codes." [2]
Keep in mind that Shopify’s sandboxed checkout setup restricts certain tracking capabilities, so you’ll need to implement purchase event tracking carefully. After configuring your tags and triggers, make sure to test everything thoroughly before publishing.
Testing and Deploying Your GTM Configuration
1. Test Tags Using GTM Preview Mode
Start by enabling GTM’s Preview Mode. Click the "Preview" button in the top-right corner of your GTM workspace, then enter your Shopify store URL. This creates a testing environment where you can watch tag activity in real-time.
Focus on testing key events such as product list views (dl_view_item_list), individual product views (dl_view_item), and add-to-cart actions (dl_add_to_cart). Check these events on pages like collection, product, and cart pages to ensure everything works as expected.
"Inside of GTM, you’ll see this preview mode or preview button in the top right hand corner. And once that’s enabled, you’ll have this clear notification banner stating that you’re now in previewing the workspace." [1]
2. Publish Your Changes in Google Tag Manager
When you’re confident everything is working, it’s time to publish. Click ‘Submit’ in your GTM workspace, give your version a clear and descriptive name, review the changes, and then click ‘Publish.’
Adding detailed version descriptions helps you keep track of updates and makes it easier to undo changes if needed.
3. Monitor Tag Performance in GTM
Use GTM’s built-in debugging tools to track important metrics like:
- Tag firing rates
- Data transmission success
- Variable population
- Trigger execution
Pay special attention to eCommerce events to confirm accurate transaction tracking. For checkout and purchase tracking, use Shopify’s Customer Events setting (via the Web Pixel API), as GTM has limited access to secure checkout pages.
"Now’s the time to go through and QA and validate your tag before ultimately publishing." [2]
Conclusion: Key Points for Shopify-GTM Integration
Connecting Google Tag Manager with Shopify simplifies tag management, improves tracking, and helps store owners make smarter marketing decisions. This setup allows you to monitor customer behavior, fine-tune marketing campaigns, and boost eCommerce performance – all without needing advanced technical skills.
Here are a few key focus areas to keep in mind:
Data Layer Setup: A properly structured data layer is essential for accurate tracking. It converts dynamic information, like product details, into reusable variables for your tags.
Organized Tag Management: Keep your GTM container tidy by conducting regular audits and using clear, consistent naming for your tags and triggers.
"Not planning what you want to track can lead to unnecessary or incorrectly configured tags." [1]
Performance Checks and Updates: Tools like Google Tag Assistant, GA4 DebugView, and GTM Preview Mode can help you test and verify your tags. Track key events, such as cart updates and checkout steps, to ensure data accuracy and avoid duplicate tracking.
"Your ecommerce tracking in GA4 is unlikely to be ever accurate if you do not track state changes." [2]
This integration sets the stage for better marketing insights and performance tracking. Once GTM is in place, you can explore more advanced tracking techniques or check the FAQs below for further help.
FAQs
How do I set up GTM with Shopify?
Log into your GTM account, go to Admin → Install Google Tag Manager, and follow the steps to add the provided code snippets to your Shopify theme files [1].
What should I do if GTM isn’t working?
Double-check that the GTM code is correctly placed in the <head> and <body> sections of your theme.liquid file. Use Google Tag Assistant to confirm the installation – a connected pop-up message will indicate success. For more detailed checks, activate GTM Preview mode to see if your tags are firing as expected [1].
Is there a different setup for Shopify Plus?
Yes, Shopify Plus requires adding the GTM code to the checkout.liquid file. You’ll also need to configure tracking in the Additional Scripts section for order confirmation [2][4].
How can I confirm my GTM installation is working?
You can confirm your installation using tools like Google Tag Assistant or GTM Preview Mode. These tools help ensure tags are firing correctly and data is being collected [1].
How do I handle data privacy compliance?
To maintain compliance, use a consent management tool. This ensures tags only fire after users give their permission, keeping your tracking lawful and accurate [1].
Can I track custom events in Shopify?
Absolutely. You can track events like product views or cart additions by setting up event tags and triggers within GTM [1].
For more advanced tracking methods, refer back to earlier sections or check out additional GTM resources.